How to Convert a Logo From an Image to Vector for the Print Shop
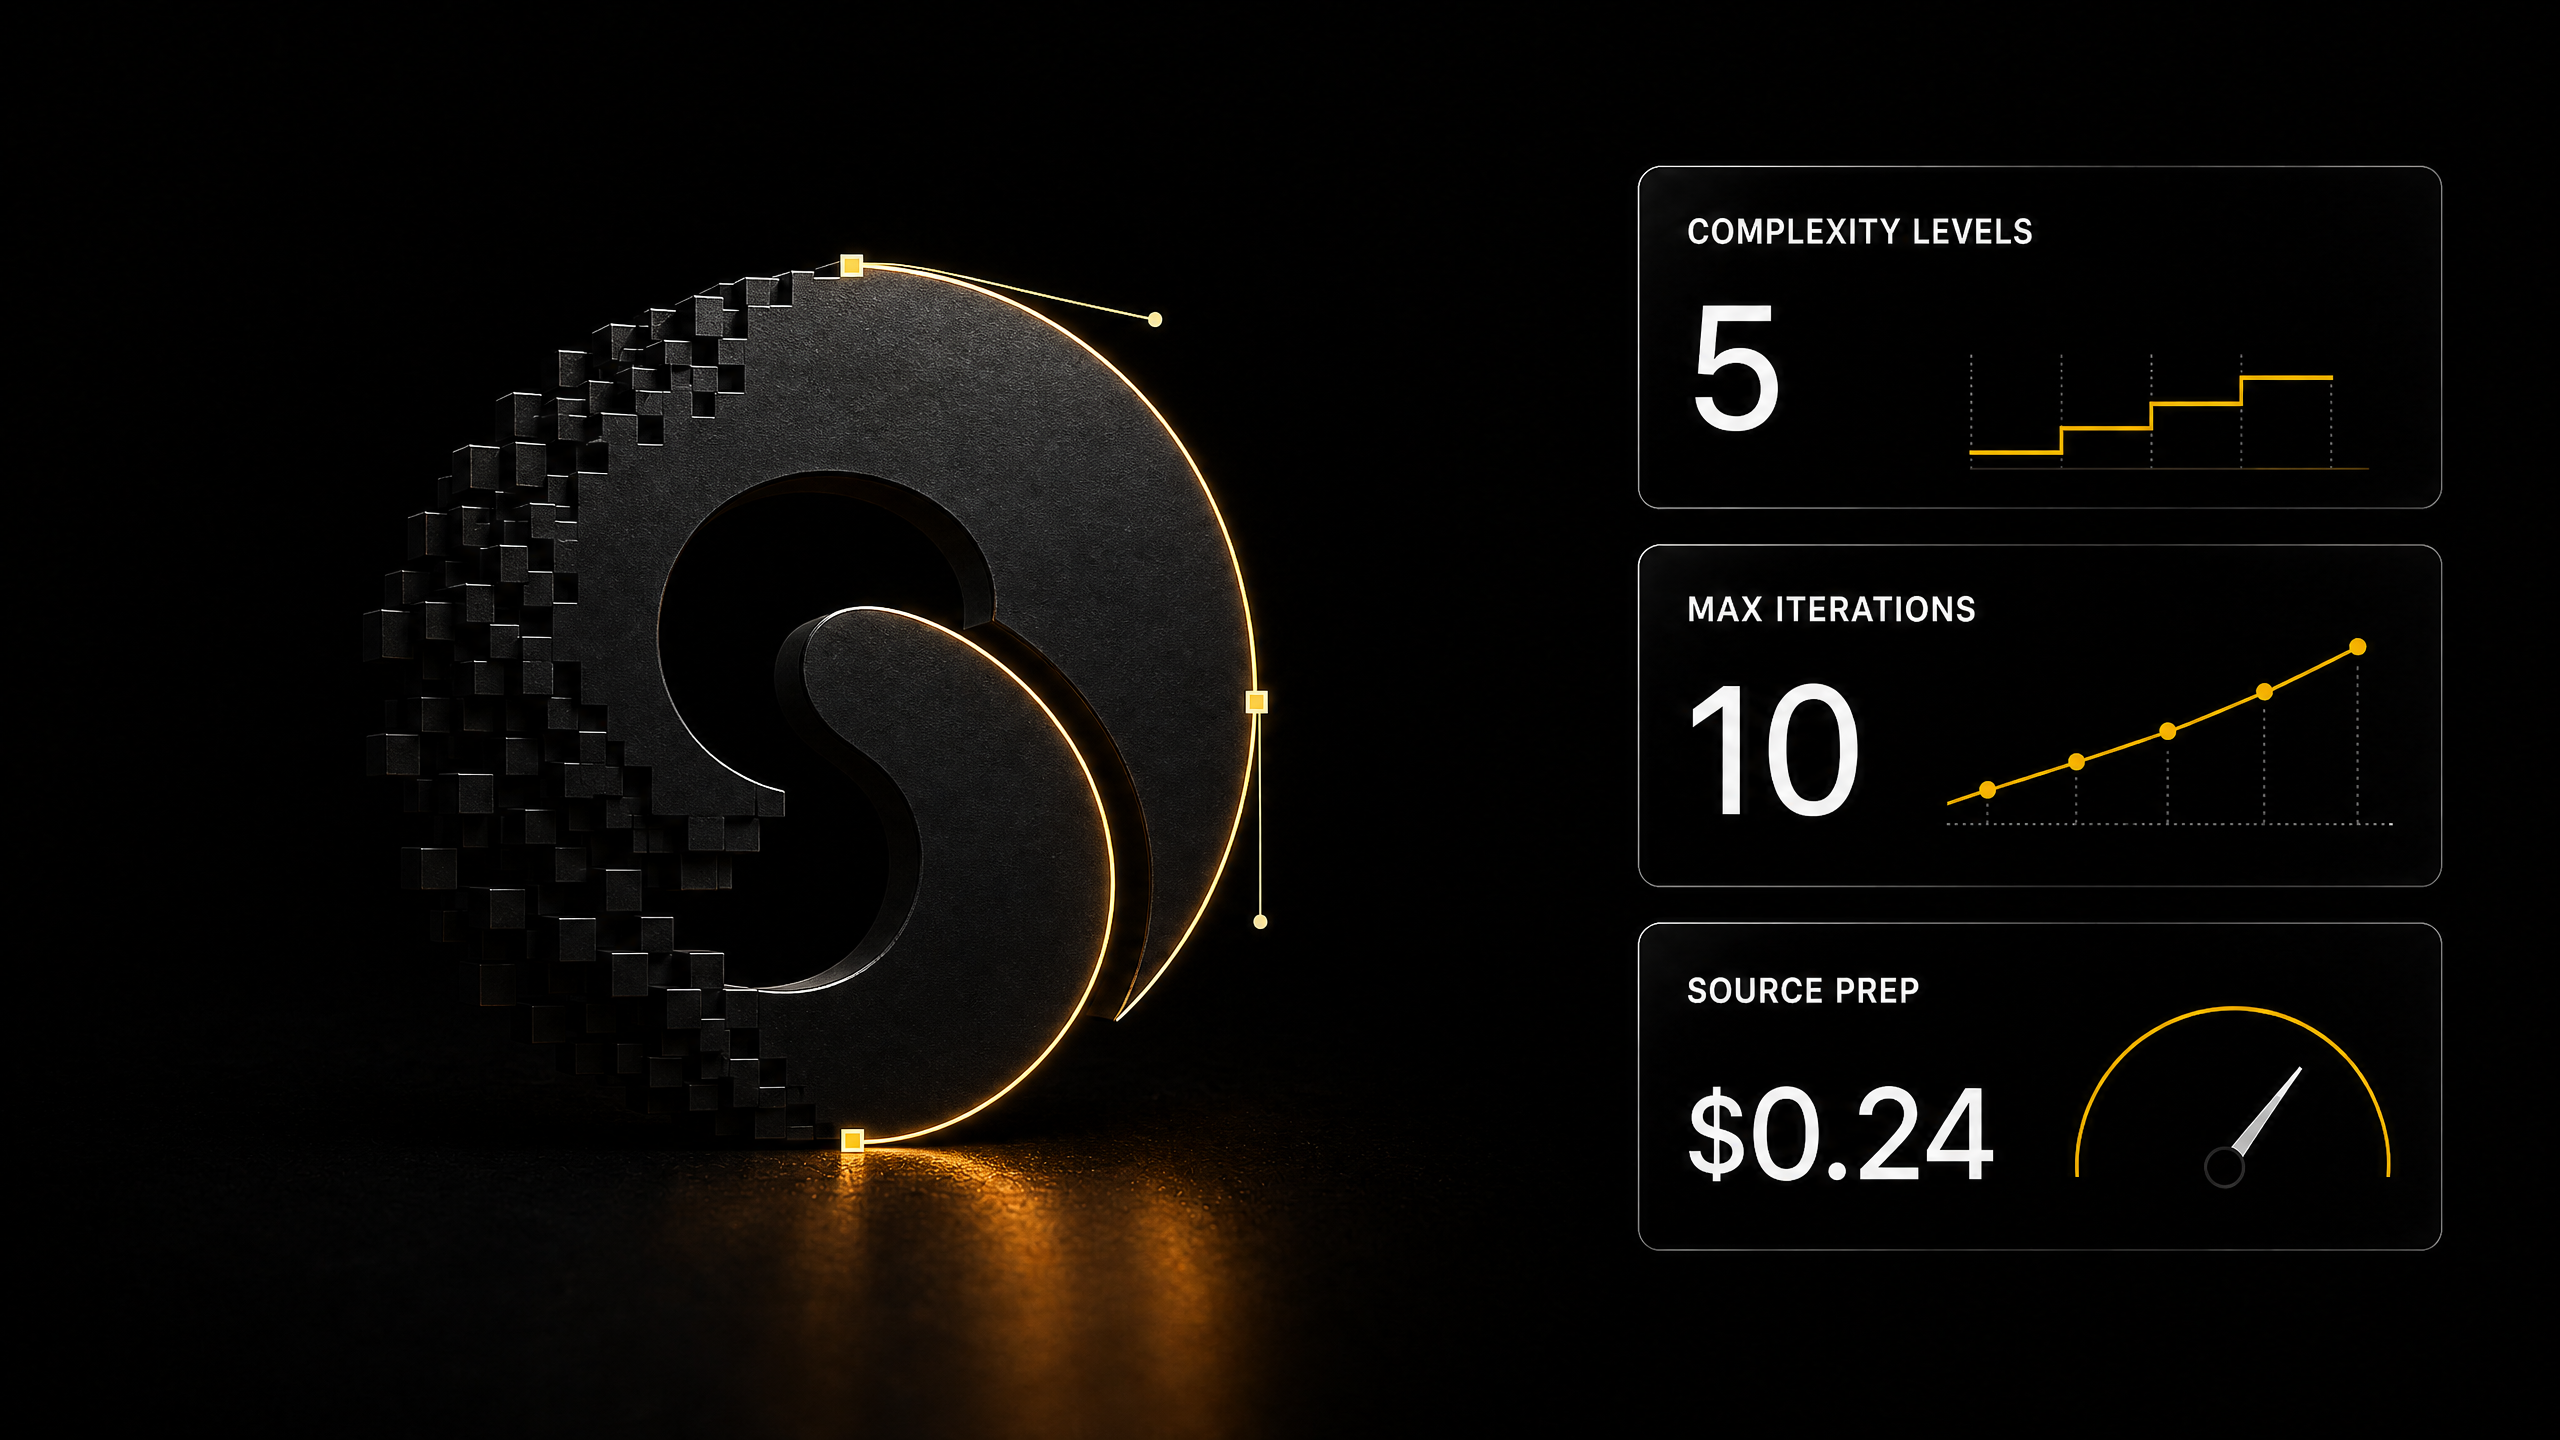
A client sends a logo as a screenshot from a website or an image from a messenger, while the plotter, the laser and the print shop need a clean vector. Auto-trace in an editor gives jagged stair-steps and hundreds of extra nodes, and redrawing by hand takes an hour or two per mark. Below is a four-step setup that does this work and checks for itself how accurately the vector fits the original.
A client sends a logo as a screenshot from a website or an image from a messenger, while the plotter, the laser and the print shop need a clean vector. Auto-trace in an editor gives jagged stair-steps and hundreds of extra nodes, and redrawing by hand takes an hour or two per mark. Below is a four-step setup that does this work and checks for itself how accurately the vector fits the original.
Short on time: five points
- First, clean the source. Remove the background and raise the resolution — two generations at $0.12 each. No tool will produce a clean vector from a dirty image.
- The logo is vectorized by a skill for Claude Code. It doesn't trace pixels; it picks the simplest geometry: circles, arcs, smooth curves. Each attempt is overlaid on the original and the match is measured.
- Diagrams, plans and flowcharts are handled by another tool. It turns the picture into an editable diagram where every block, arrow and label can be moved separately.
- The last flaws are fixed in a browser path editor. All points and curves are visible there, and an extra node is deleted with one click.
- Before sending to the print shop, convert colors to CMYK or Pantone, convert text to curves and check the minimum line thickness. This is done by hand, and it is mandatory.
A task that arrives every week
Anyone who has worked with print knows this email: "Here's our logo, make us a sign." Attached is a 400-pixel JPG cut out of a website header, with a gray halo from compression.
A raster is no good for print:
- a plotter cuts film along a contour, and a picture has no contour, only pixels;
- laser and engraving need a line for the beam to follow;
- screen printing and embroidery need separate color layers with crisp boundaries;
- in large format, a 400-pixel logo stretched to two meters turns to mush.
Next there are usually three options. The editor's built-in auto-trace: fast, but with stair-steps along the edges and hundreds of nodes that then have to be cleaned up by hand. Redrawing by hand: clean, but an hour or two per mark. Or turning the client away: "we need the source in curves," which the client doesn't have, because the designer who made the logo vanished long ago.
The setup below closes that gap. It isn't a "make it pretty" button but a process that checks itself, and that is its value.
Who I am and why I'm writing about this
I have been working with neural networks for five years, since 2019. On the AI SKILLS platform we build solutions for specific tasks: skills for Claude, open-source projects, automation templates.
Vectorization is a telling example of how AI changes routine work. Before, there were two paths: fast and dirty, or clean and slow. Now it can be fast and clean, if you understand what each tool does and where its limit lies. Below I have gone through each step: how it works inside, what you need on your computer, and where it breaks.
Why ordinary auto-trace produces junk
Built-in tracing repeats pixels. It follows the boundary between colors and outlines it as is, together with the stair-steps of the raster grid and compression noise.
A designer thinks differently. They see that the letter "O" is two ellipses, that a bend is one smooth curve with three nodes, not forty straight segments.
A good vector is judged not by how exactly it matches the picture, but by its simplicity and smoothness. A logo made of three ellipses and two curves is edited in a minute, scales up to a building and is cut by a plotter without jerks. A logo with 400 nodes formally matches the original, but in reality it is the same picture, just in SVG format.
The tools below work by the second logic.
Step 0. Preparing the source: background and resolution
Vectorization starts with a picture, and the cleaner it is, the fewer iterations later. Both operations are done in Gen AI on the platform, paid from your wallet, with the price visible before you click.
Remove the background — Background Remover, $0.12. Leaves only the mark on a transparent background. This matters: the vectorization tool first determines where the mark is and where the background is. If the background is a solid color, it can cope on its own, but if the picture has a backing, a gradient or a piece of a photograph, it's better to remove it in advance.
Raise the resolution — one of three models, $0.12 each:
| Model | When to pick it |
|---|---|
| Topaz Image Upscale | the source is decent but small: ×2 enlargement without extra "painting in" |
| SeedVR2 Upscale | the source is heavily compressed, edges full of artifacts: enlargement to 2K or 4K with detail restoration |
| AI Upscale | a universal option when you're not sure |
What to look at after upscaling. Upscaling models restore details, which means they guess them. On a photograph that's unnoticeable, but on a logo a serif or the rounding of a letter can shift. Place the result next to the original and compare the small elements. If the model "improved" something, take another one or a variant with a smaller enlargement.
The output of Step 0 is a PNG with a transparent background, two to four times larger than the source.
Step 1. Logo to vector: a skill with an accuracy check
Card of the logo vectorization and animation skill →
This is a skill for Claude Code. A skill is a folder with instructions and a set of scripts that Claude reads before working and carries out step by step. This skill can also animate a logo, but for print you only need the first half: a static SVG.
How it works inside
I read the skill's instructions in full. The process is built like this.
1. Source analysis. Claude records the image size, colors and background type and divides the mark into meaningful parts: the icon, the lettering, individual letters, dots, swirls, the voids inside letters. Each part later becomes a separate SVG element.
2. The complexity ladder. The skill's main rule: start with the simplest geometry that explains the shape, and add complexity only when a discrepancy is proven. There are five levels:
- simple shapes: circles, ellipses, rectangles, lines, arcs;
- combinations of several shapes;
- several smooth curves — for ribbons, swirls, leaves, waves, shields;
- smoothed contours with nodes only where the shape really changes;
- pixel tracing — only for irregular silhouettes where everything else failed, and even then the result is smoothed.
If a complex variant wins only on edge smoothing, the simple one stays.
3. Overlay and scoring. The skill renders each SVG version through the Chrome browser, overlays it in turquoise on the original and saves the overlay image. At the same time it calculates an area-match metric (IoU): what share of the mark coincided with the original. Claude looks at the overlay and checks centers, radii, line ends, thickness and the voids inside letters.
4. The smoothness check — a hard filter. This is the main difference from ordinary tracing. If an edge that should be smooth turns into stair-steps at 200–400% zoom, the result is rejected even when the match figure is high. A path assembled from one-pixel horizontal and vertical segments counts as a defect. For complex curves a separate audit runs: jerky handles, jumps in tangents, small alternating segments.
5. A budget of ten iterations. The loop "change geometry → render → overlay → evaluate" runs until an accepted result or until ten attempts. If the budget runs out, the best candidate is chosen: first smoothness, then absence of structural errors, then match, then least complexity. A clean variant with a slightly lower match beats an exact one with a visible kink.
What you get
logo.svg— the final vector, each part as a separate element with a clear name;- a folder of overlay images for every iteration — you can see how the vector was fitted to the original;
final_render.png— a clean render of the final SVG;- a progress strip: the original, all overlays and the final in one picture;
- match figures for each attempt.
The overlay strip is something you can show the client. It isn't "a neural network drew something," it's a document: here is the original, here is the vector on top, here is the discrepancy.
What you'll need
- Claude Code with a Claude subscription;
- Python 3.10 or newer with the Pillow and numpy libraries;
- Chrome or Chromium — the overlays are rendered through it;
- Playwright is needed only for animation; for a static vector you can skip installing it.
How to connect it. Download the skill archive from the card and unpack it into the .claude/skills folder of your project. After that Claude will find it on its own.
Prompt for Claude Code
"In the .claude/skills folder there is a logo vectorization skill — read its SKILL.md and the references folder. I only need static vectorization, no animation: perform the source analysis and the geometry fitting, and don't do animation. The source is logo.png in the project root. Print requirements: draw all text as outlines (path), don't use the text element or fonts; each color as a separate group; all contours closed; no strokes, fills only. Save the overlays of every iteration. At the end send me the progress strip, the final match and a list of places where the vector differs from the original, explaining why they were left that way."
Why the prompt mentions text separately. By default the skill prefers to keep the lettering as live text if the exact letterforms aren't required: that is more convenient for animation. For print you need the opposite — text strictly in curves — otherwise the printer won't have your font and the lettering will fall apart.
Handoff to the print shop
The SVG from the skill is not yet a print-ready file. Three things are done by hand in CorelDRAW, Illustrator or Inkscape:
- Colors. In the SVG they are in RGB. Assign CMYK or the Pantone given by the client or the printer.
- Thicknesses. Check the thinnest lines and gaps. A plotter, a laser and an embroidery machine each have their own minimum, and it differs by production shop. Ask the print shop.
- Format. Save in whatever was requested: PDF, EPS, CDR or AI.
Step 2. Diagrams, plans and flowcharts: a picture to an editable diagram
Card of the "diagram image → DrawIO" tool →
A logo isn't the only thing that arrives as a picture. A route map for a banner, a booth plan for an exhibition, a flowchart for a poster, a table with arrows for an infographic. The skill from Step 1 isn't suited to this: it is built for marks, not for dozens of blocks and labels.
This is an open-source project: it deploys on your computer and turns an image of a diagram into a DrawIO file in which every element can be selected and moved separately. From DrawIO the diagram exports to SVG or PDF — and there you have a vector.
How it works inside
- Segmentation. The SAM 3 model (Segment Anything 3 — a model that picks out objects in an image) finds shapes, arrows, embedded images and the background in the picture. Each element type has its own confidence threshold and minimum area, configured in the config.
- Text. In parallel, text recognition (OCR) runs: it finds labels and their coordinates. Formulas can be sent to a separate module that converts them to LaTeX.
- A multimodal model — optional. You can connect a model that sees the image, through an API or locally. It helps with text recognition in difficult cases.
- Assembly. Shapes, arrows and text are assembled into DrawIO XML, preserving colors, outlines, dashes and line thickness.
What you'll need
- Python 3.10+;
- a CUDA graphics card — strongly recommended. Without one you can switch to the CPU, but it will run slowly;
- PyTorch for your CUDA version;
- SAM 3 model weights — downloaded separately, from the links in the README, and placed in the
modelsfolder; - Tesseract for text recognition (or PaddleOCR as an alternative);
- the
config.yamlconfig, where the paths to the weights are set.
You run it with one command per image, and the result appears in the output folder. There is also a web-service mode: you start a server and send images through the API.
Two traps the description doesn't print in large type
Russian text. Recognition is configured for English and Chinese by default. For labels in Russian or other languages you need to install the matching Tesseract language pack and change the language in the recognition module, otherwise you'll get garbage instead of labels.
Arrows. Automatic attachment of arrows to shapes is still in development. Arrows will appear in their places, but when you drag a block they won't follow it. For print this doesn't matter; for further editing of the diagram it does.
One more thing: the authors state outright that the version in the repository lags behind their online service. Deploying it yourself, you get not the freshest version, but full control and no uploading of your diagrams to a third-party server.
Prompt for Claude Code
"Take the open-source project from this card: https://aiskills.team/open-source/bit-datalab-edit-banana. Clone the repository, study the README and config.yaml.example and deploy the project for me: a Python virtual environment, PyTorch for my graphics card, dependencies, the SAM 3 library via the install script, Tesseract with the Russian language pack. Tell me where to download the SAM 3 weights and set the paths in config.yaml. Switch text recognition to Russian and English. Run the image input/scheme.png, open the result and list the elements that were recognized incorrectly."
If you have an RTX graphics card on a Windows computer, it's easier to deploy through WSL: that way the commands from the README work without changes.
Step 3. Manual contour refinement in the browser
Card of the browser SVG path editor →
Even a good vector sometimes needs fixing: an extra node on a bend, a curve that sags slightly, a point that has slipped half a pixel. Opening a heavy editor for that takes a while. This tool works right in the browser, and nothing needs installing.
How the work goes
The editor works with a single contour — the d attribute of a path element, that is, a string of commands like "move here, draw a curve there". So the order is:
- Open the SVG in any text editor and find the contour with the defect — with the skill from Step 1 the parts have clear names, so it's easy to find.
- Copy the contents of the
dattribute and paste it into the editor's field — the contour appears on screen immediately. - Edit: drag points and handles with the mouse, add and delete commands, change the segment type — for example, turn a polyline into a curve.
- Use the buttons for the whole contour: Round rounds the coordinates, Optimize shortens the notation, and there is scale, shift and rotate.
- Copy the corrected string back into the SVG.
Undo is the familiar Ctrl+Z. If you need to work offline, the editor runs locally; that requires Node.js version 18.13 or newer.
Where it doesn't help. It isn't a replacement for Illustrator or CorelDRAW: there are no layers, colors or work with several objects at once. It's a point tool for a single curve, and in that role it is faster than any large editor.
Where the limit is: what this setup doesn't do
Honestly, so you don't waste an evening.
Photographs. A portrait, a landscape, a photorealistic illustration can't be vectorized this way. The skill is built for logos, marks and simple graphics.
Gradients, halftones, textures. A raster gradient turns into a set of flat patches. If the logo has a gradient, it's better to redefine it afterwards as a gradient in the vector by hand.
Complex lettering. If you know what font the lettering is set in, it's faster and more exact to set it in that font and convert it to curves. Vectorizing letters is needed when the font is unknown or hand-drawn.
Other people's logos. It makes sense to restore a vector for the owner of the mark — your client or their company. Vectorizing someone else's brand for resale is no longer a technical question.
What it costs and where the money is
Cost per logo: source preparation — $0.12–0.24 from the wallet (background and upscale), the rest is Claude Code work under your subscription and free open-source tools.
Who it sells to. Vectorization is a constant request from print shops, advertising producers, sign workshops, embroidery and engraving shops. It isn't a one-time "once and forget" service: every new client of a production shop arrives with their logo as a JPG.
In the order feed we used to build the price list, creating a logo costs $25–90. Vectorization is adjacent work, and it is ordered by the same person: a business owner who needs a sign, or a production shop with no time to redraw. These are market figures, not an income promise, but the order of magnitude is clear.
How to package the offer. Not "I'll convert it to vector" but "I'll prepare your logo for print": vector + colors in CMYK or Pantone + thickness check + file in the right format + an overlay strip showing the accuracy. The customer isn't buying an SVG, but the assurance that the print shop will accept the file the first time.
If you have your own production, this setup saves a designer's prepress time — the very person who now spends an hour on every JPG that comes in.
What to get on the platform
The vectorization skill — card. Regular skills can be downloaded from the Basic tier, advanced ones from Creator or as a one-time purchase for $9 or 1,000 experience points. The level is shown on the card. This skill is advanced: it opens from the Creator tier, as a one-time purchase for $9 or for 1,000 experience points, and is not included in the free three days of Basic.
The diagram tool and the path editor — in the Open Source catalog. Descriptions are visible to everyone; links to the repositories open from the Creator tier.
Background and upscale — in Gen AI, paid from the wallet per use, the price is visible before you click, and if something fails the money is returned.
If this article has no solution for your task, ask Cerebrum: describe the task in words and it will assemble a setup from more than 10,000 skills and more than 800 open-source solutions.
Registration is free and opens three full days of Basic, no card needed.
Where to start today
Take the last logo that came to you as a picture. Remove the background and upscale it in Gen AI — that's two minutes and $0.24. Then give the result to the skill with the prompt above (the skill opens from the Creator tier, or as a one-time purchase for $9 or 1,000 experience points) and look at the overlay strip.
If the vector fit on the first run, you have a ready-made service. If not, the strip will show exactly where, and you'll fix it in the browser editor in five minutes.
If you know someone at a print shop who still redraws logos by hand, forward them this article.
What to read next
An AI freelancer's price list — what is paid for logos, images and websites.
Neural networks for designers — what else to hand to AI in design work.
A service, not a one-off task — how to package vectorization as a product.
How to choose an AI tool — why you should start with the task, not the service.