How to give yourself a photo session with no photographer or studio
A proper shoot means money, arranging things with a photographer and a whole day out of your life. So it gets postponed for years. Below is a real run: three ordinary photos in, a finished series out, and above all why you do not have to write the complex technical text for it.
A proper shoot means money, arranging things with a photographer and a whole day out of your life. So it gets postponed for years. Below is a real run: three ordinary photos in, a finished series out, and above all why you do not have to write the complex technical text for it.
---
If there is no time to read: five steps
1. Find three or four photos of yourself from different angles: front, side, full length.
2. Do not write the request yourself. There is a ready assistant you dictate the task to by voice, and it turns that into the technical text.
3. Make a character sheet first — a page with every angle of your face and figure. That is the foundation everything else is built from.
4. Then place yourself into any scene using that sheet.
5. The more source photos, the closer the likeness. The difference between one photo and three is visible immediately.
---
Why a photo session gets postponed
Count up what one actually involves.
Find a photographer whose style matches. Agree a date — usually two or three weeks out. Choose a studio or a location. Think about what to wear, and sometimes buy it. Set aside half a day. Then wait a week or two for the editing. And pay for all of it.
And the most unpleasant part — the result is unpredictable. You pay in advance, and whether you like it becomes clear at the end.
So people live for years with a photograph from five years ago. Not because they do not want a new one but because the chain is too long, and it gets postponed to "sometime later".
There is another route, and it takes an evening. Not "instead of a photographer forever" — for important occasions a live shoot remains a live shoot. But for a profile picture, an account, a business card or a present for family, this is enough.
---
Who I am and what photo shoot I made
I work in visual content generation and run this area on the platform — the training on Stable Diffusion and on working with generative video models.
Everything described below is my own run, done in one evening. Not a textbook example: real source photos, real misses, a real result. I leave links to all the images in the text — you will see exactly what I saw.
---
Three mistakes that produce plastic
Before going through the run, a word about three things that make most people get a doll rather than a person first time.
First: one photo instead of several. The most common. Somebody takes their best full-face shot and expects a recognisable portrait from any angle. It will not happen: from one frame it is unclear what your profile is, what the shape of the back of your head is, what your proportions are. All of that gets filled in — and filled in on an average.
Second: random light in the source photos. If in one photo you are under an overhead lamp, in the second against a window and in the third under a phone flash, the result will be assembled from three different versions of you.
Third: trying to get everything with one button. "Make me a nice photo session" — and the person waits for a finished series. It does not work that way: first the foundation is made, and only then the frames from it.
The difference between "similar" and "recognisable" lies in those three points. Similar comes out almost always. Recognisable only when the foundation is assembled properly.
---
How it actually went
Step by step, with pictures.
#### Step 1. The source photos
I took three ordinary shots. Not studio ones — the ones I had.
Source 1 · Source 2 · Source 3
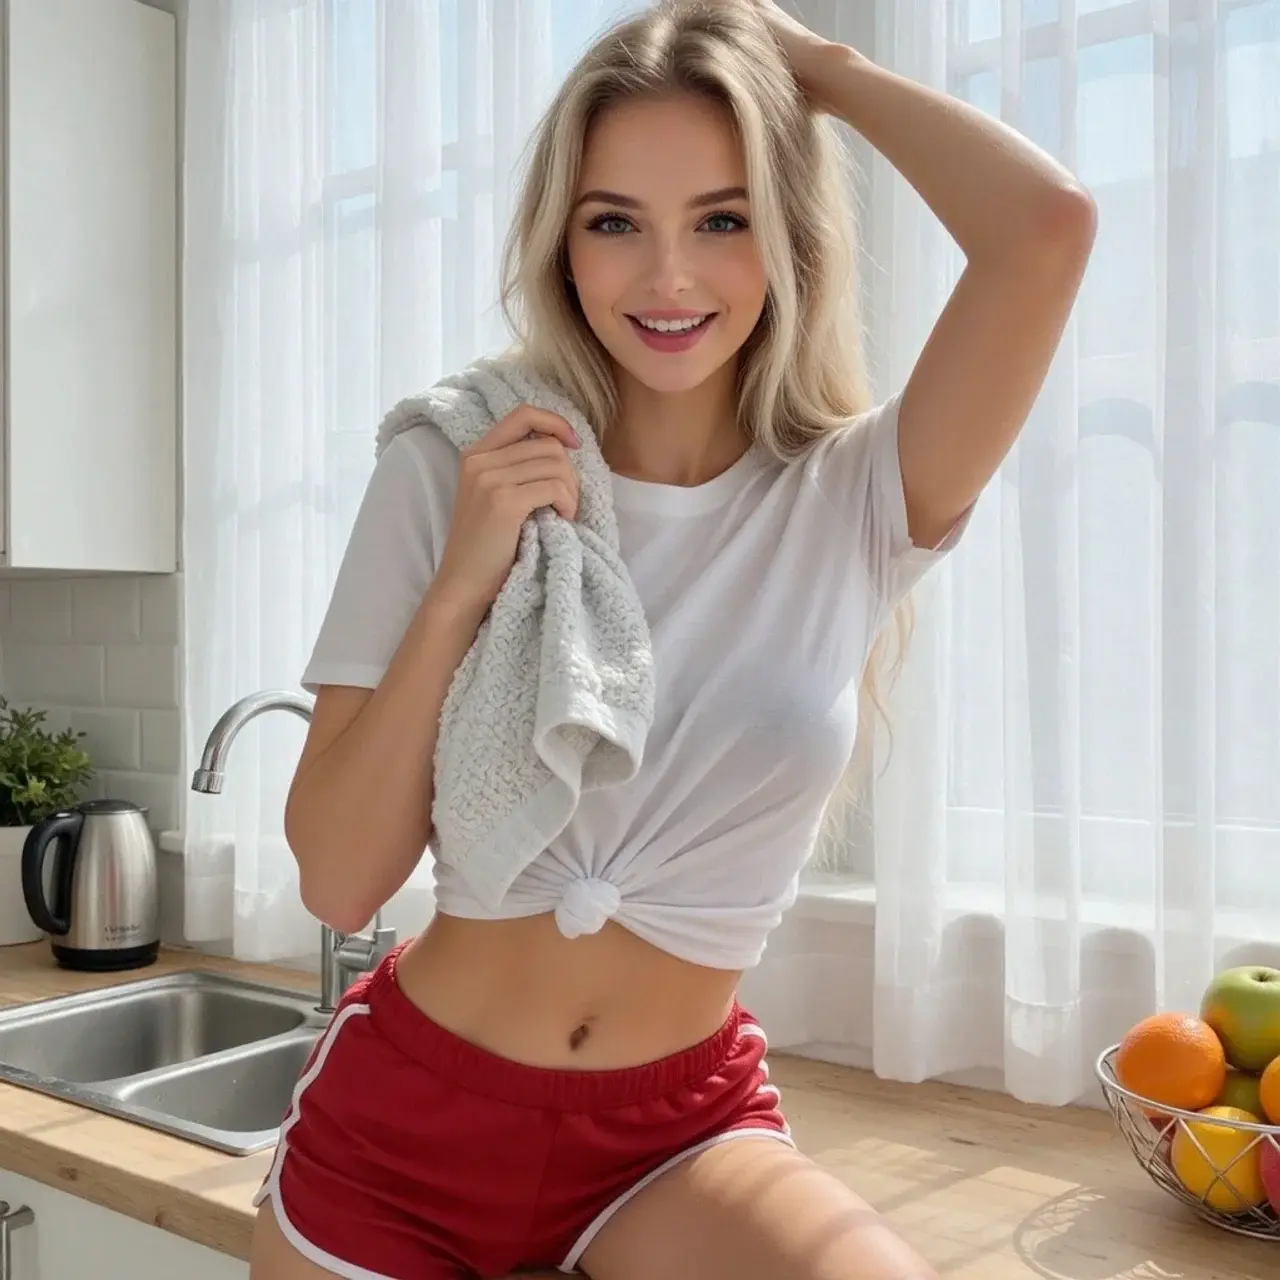
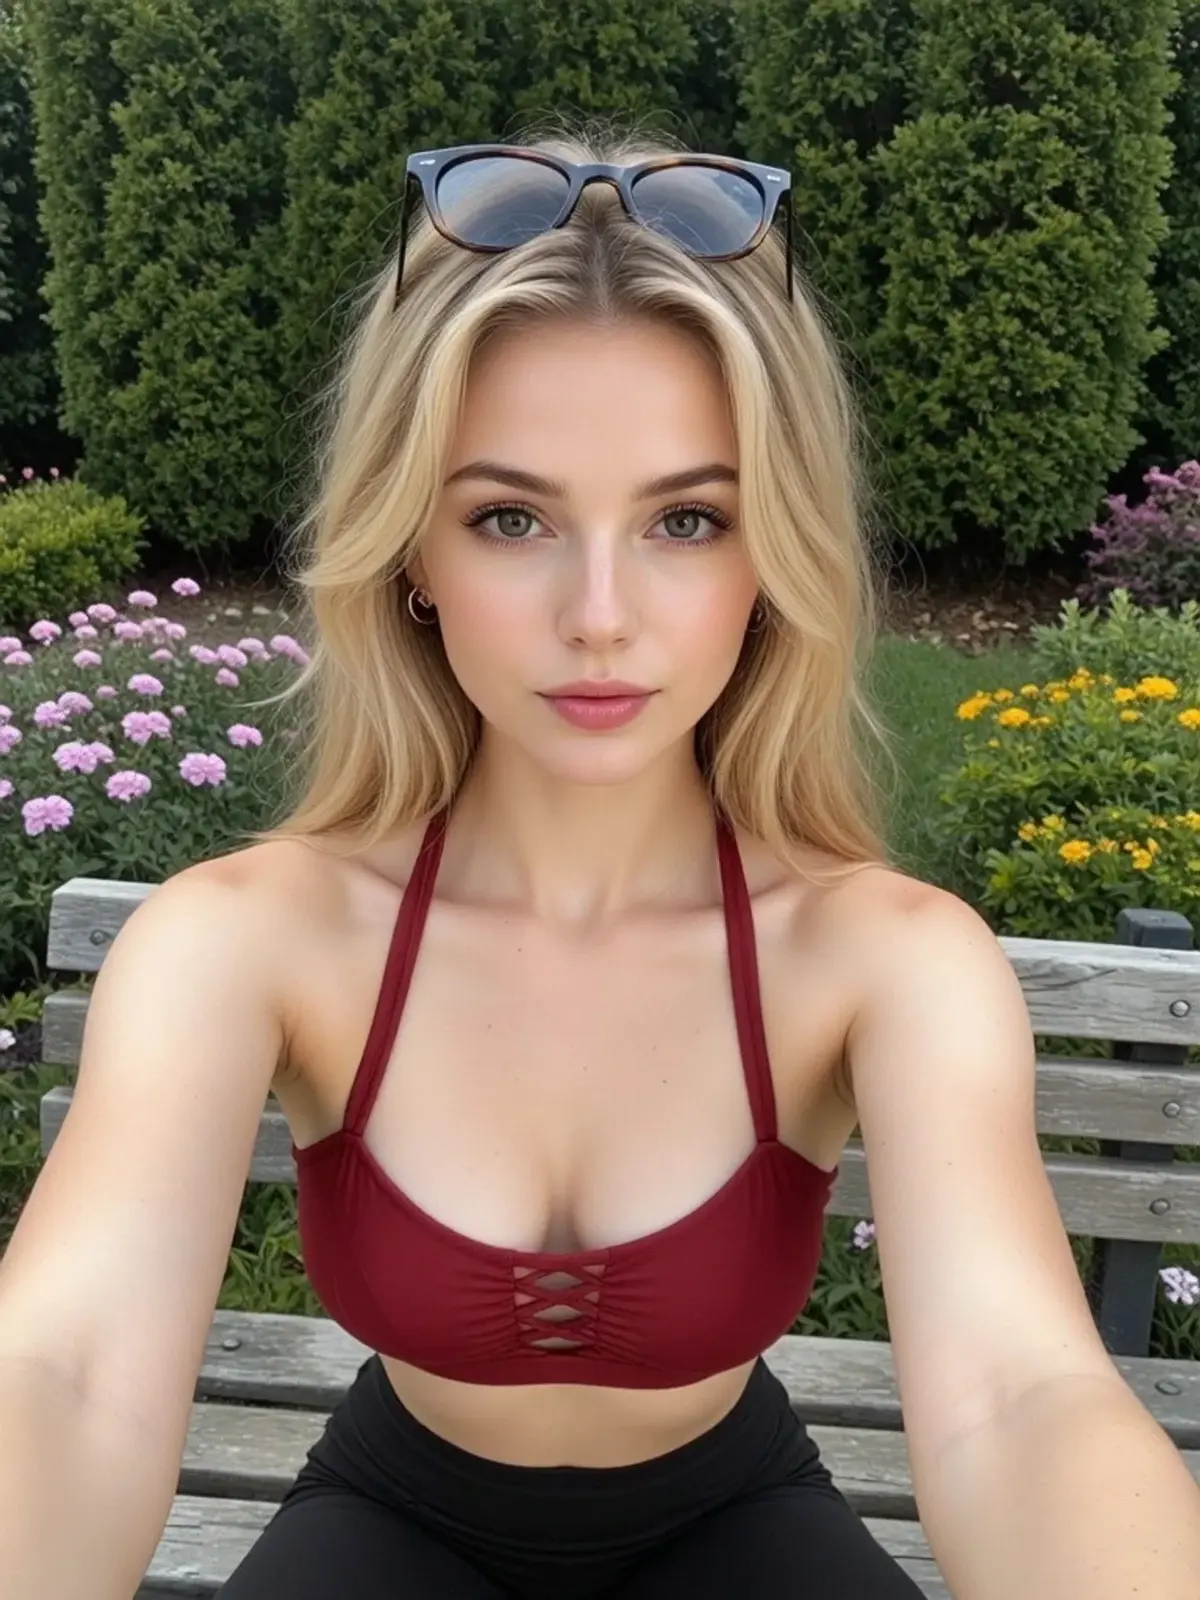
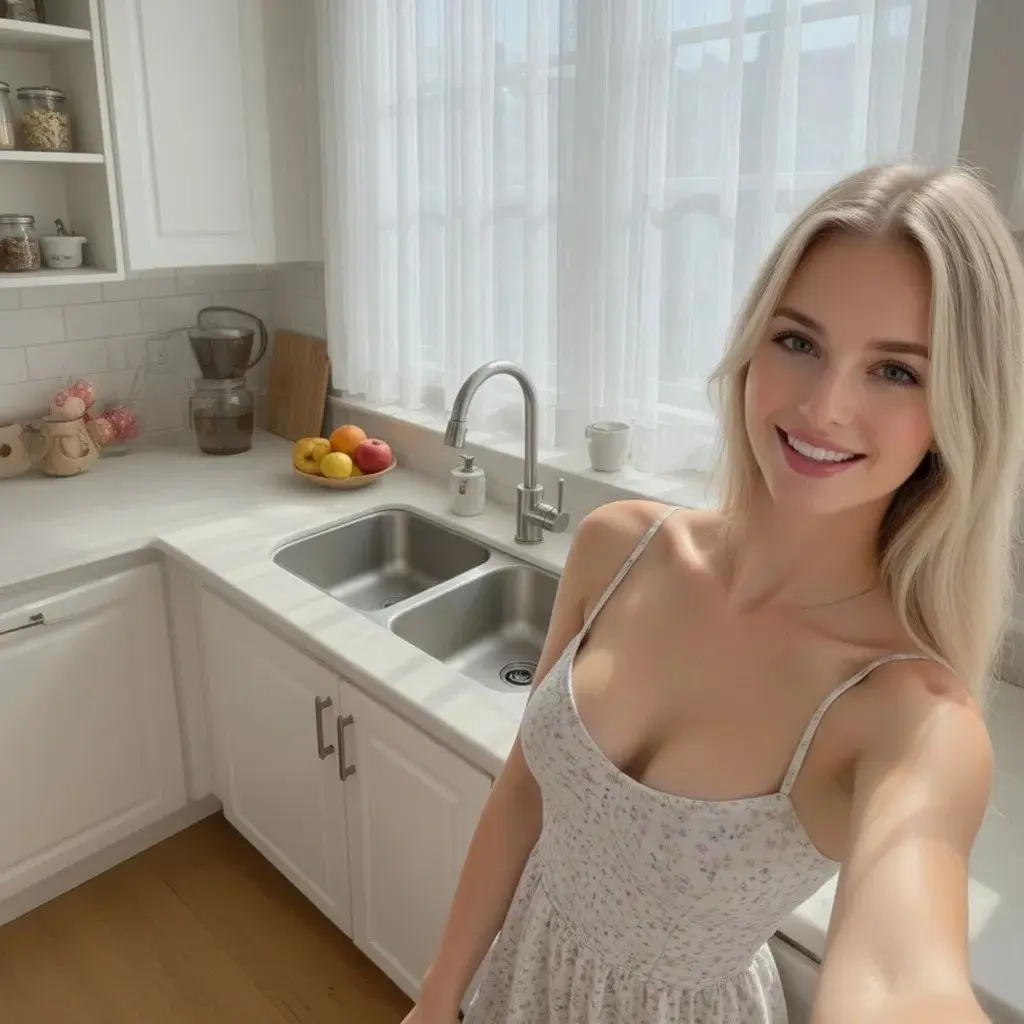
What to look for among your own. Different angles: full face, three-quarters, full length. Even light with no harsh shadows on the face. The face not obscured by glasses, a scarf or hair.
What is not needed. Professional quality, make-up, special clothing. Ordinary phone photos will do.
#### Step 2. I did not write the prompt
Here is the main point, and it usually goes unmentioned.
To get a good result you need a detailed technical text — with angles in degrees, a lighting scheme and consistency requirements. Writing that yourself is a separate skill that takes months to acquire.
I did not write it. I went to a ready assistant — "Nano Banana prompts" in the "Creative" section — and dictated the task as a voice message. In ordinary words, as I would explain it to a person:
> "In one photorealistic image, create a prompt for a character sheet of a person. Three horizontal strips on a neutral grey background. Strip 1: 6 head portraits, rotational angles. Strip 2: 6 head portraits, vertical angles. Strip 3: 5 full-length frames in an A-pose. Keep consistency: the same face, haircut, proportions, neutral expression, soft studio lighting. Visible skin texture, no make-up, feet not cropped."
It returned a finished technical text — with angles in degrees, a lighting scheme and a list of what should not be there: no retouching, no make-up, no cropped feet.
That assistant is an art director who knows how to talk to a model. All I have to do is explain the task in words.
#### Step 3. The character sheet
I sent the text I got to the generation section and chose the GPT Images model. Nano Banana Pro also suits this task.
The result — a character sheet: one page with the face shot from every side and the figure full length from five angles.
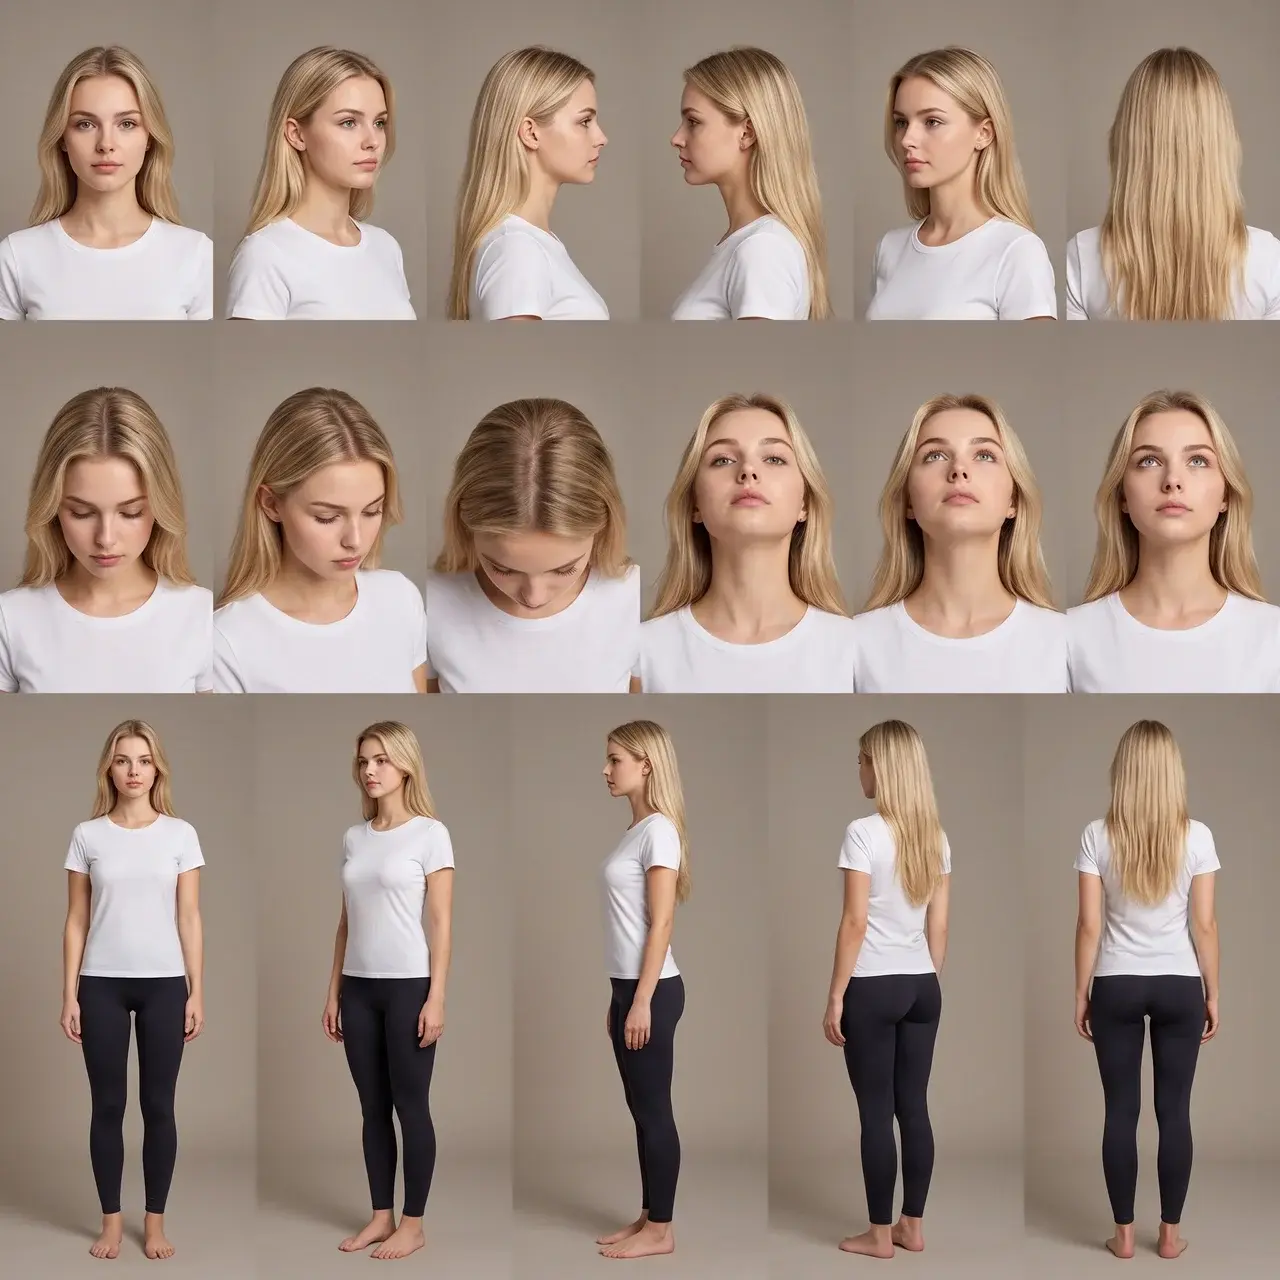
What it is for. The sheet is not the result but the foundation. From then on, in any scene the model takes the appearance from here rather than inventing it afresh. That is exactly what holds the likeness from frame to frame.
#### Step 4. Two sheets rather than one
I ran it twice. The same three sources but two different prompts from the assistant — I phrased the task by voice in two different ways.
The second sheet
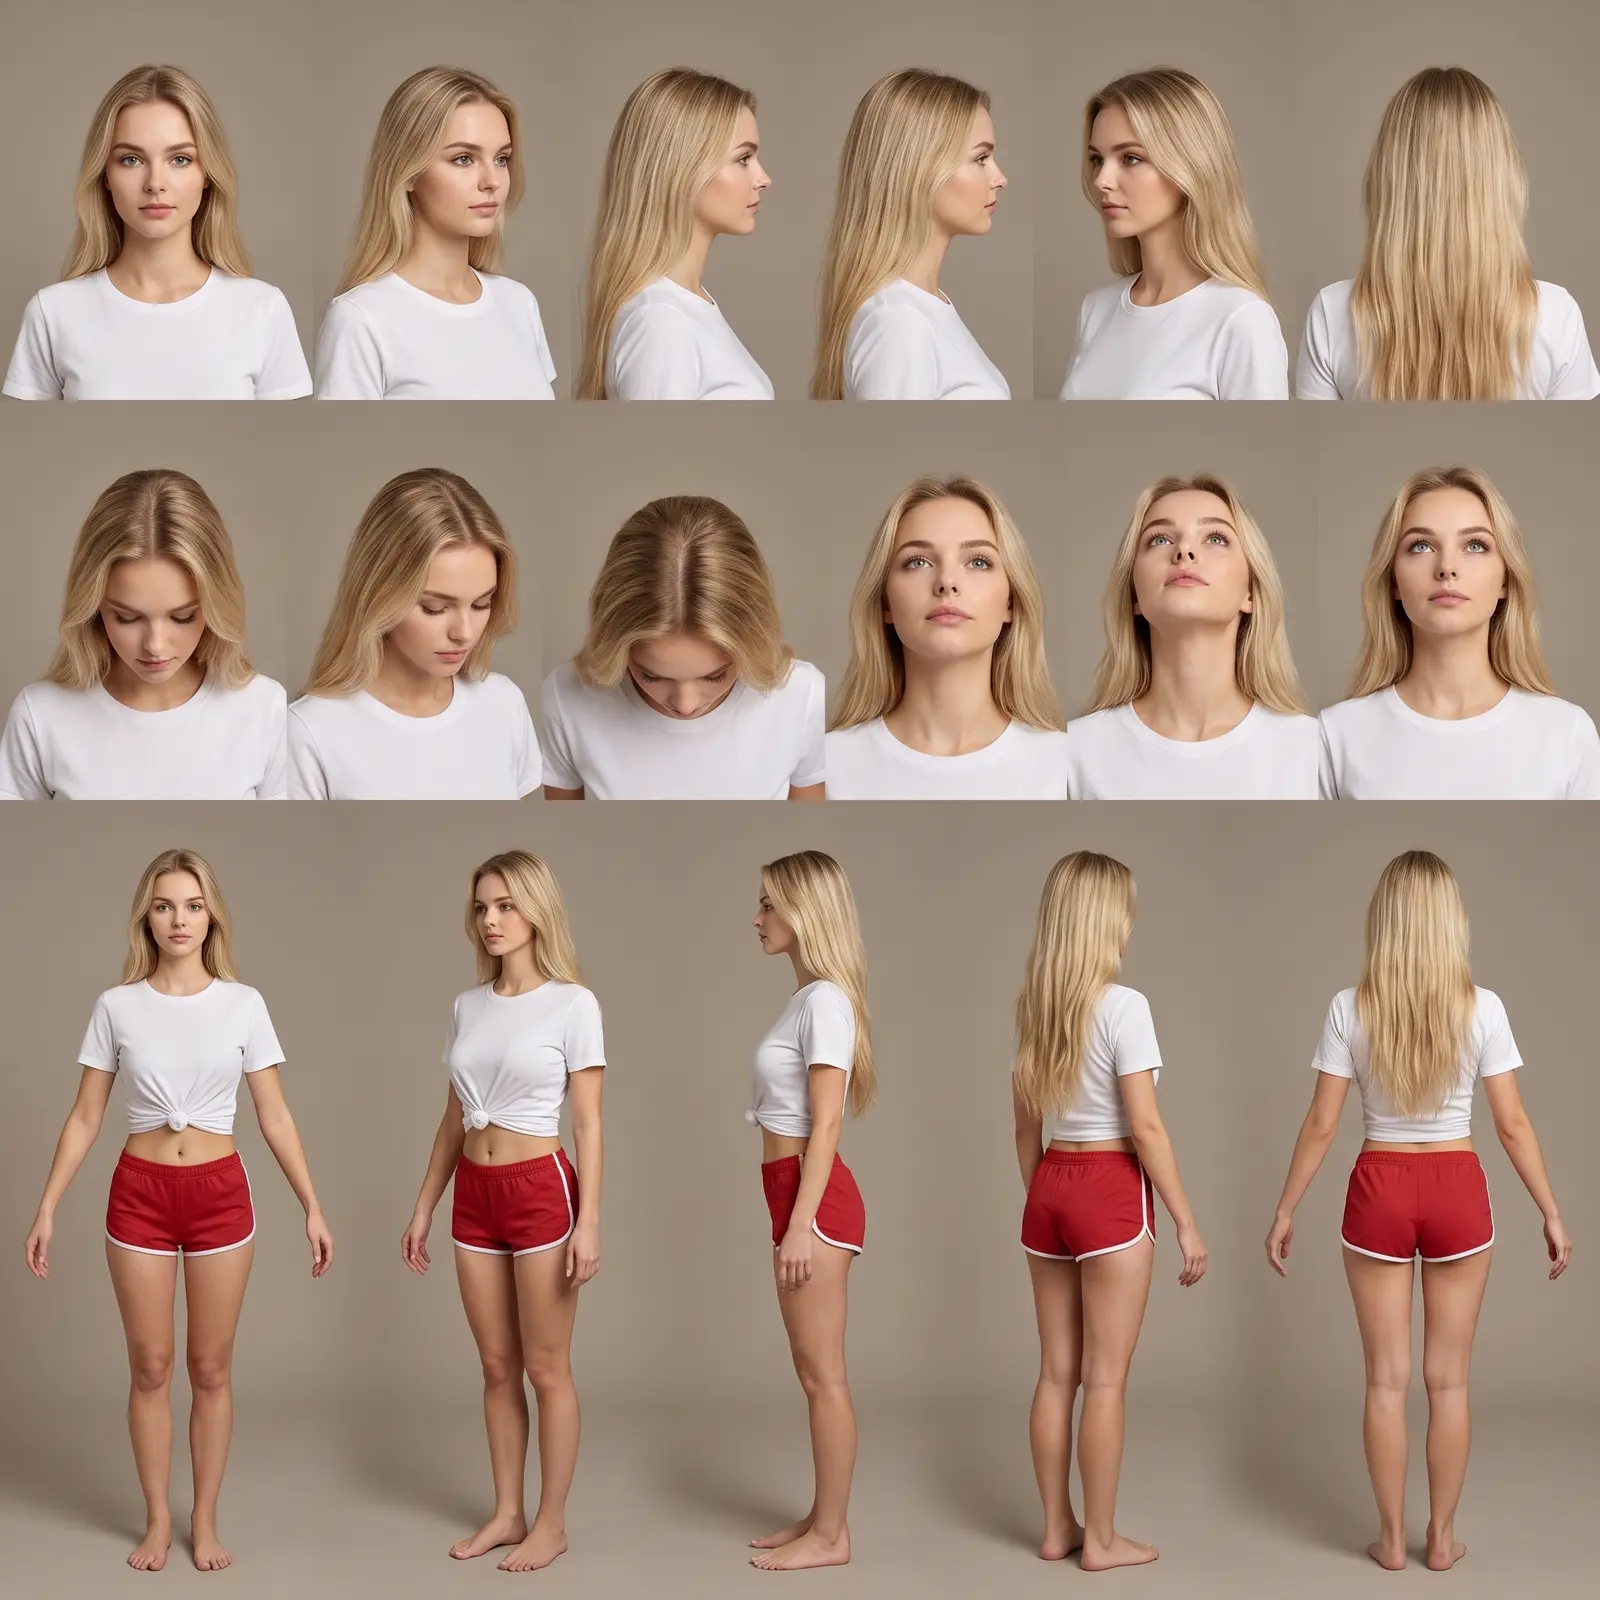
Open both and look. They differ — in presentation, in light, in how the angles fell. And yet the person in both is the same, and that is the main thing: the foundation holds.
What follows practically. Do not try to get a perfect sheet first time. Make two or three and choose the one where you look most like yourself — everything after that gets built from it.
Each run takes a couple of minutes, so choosing between several options costs less than trying to perfect one.
#### Step 5. Place yourself into a scene
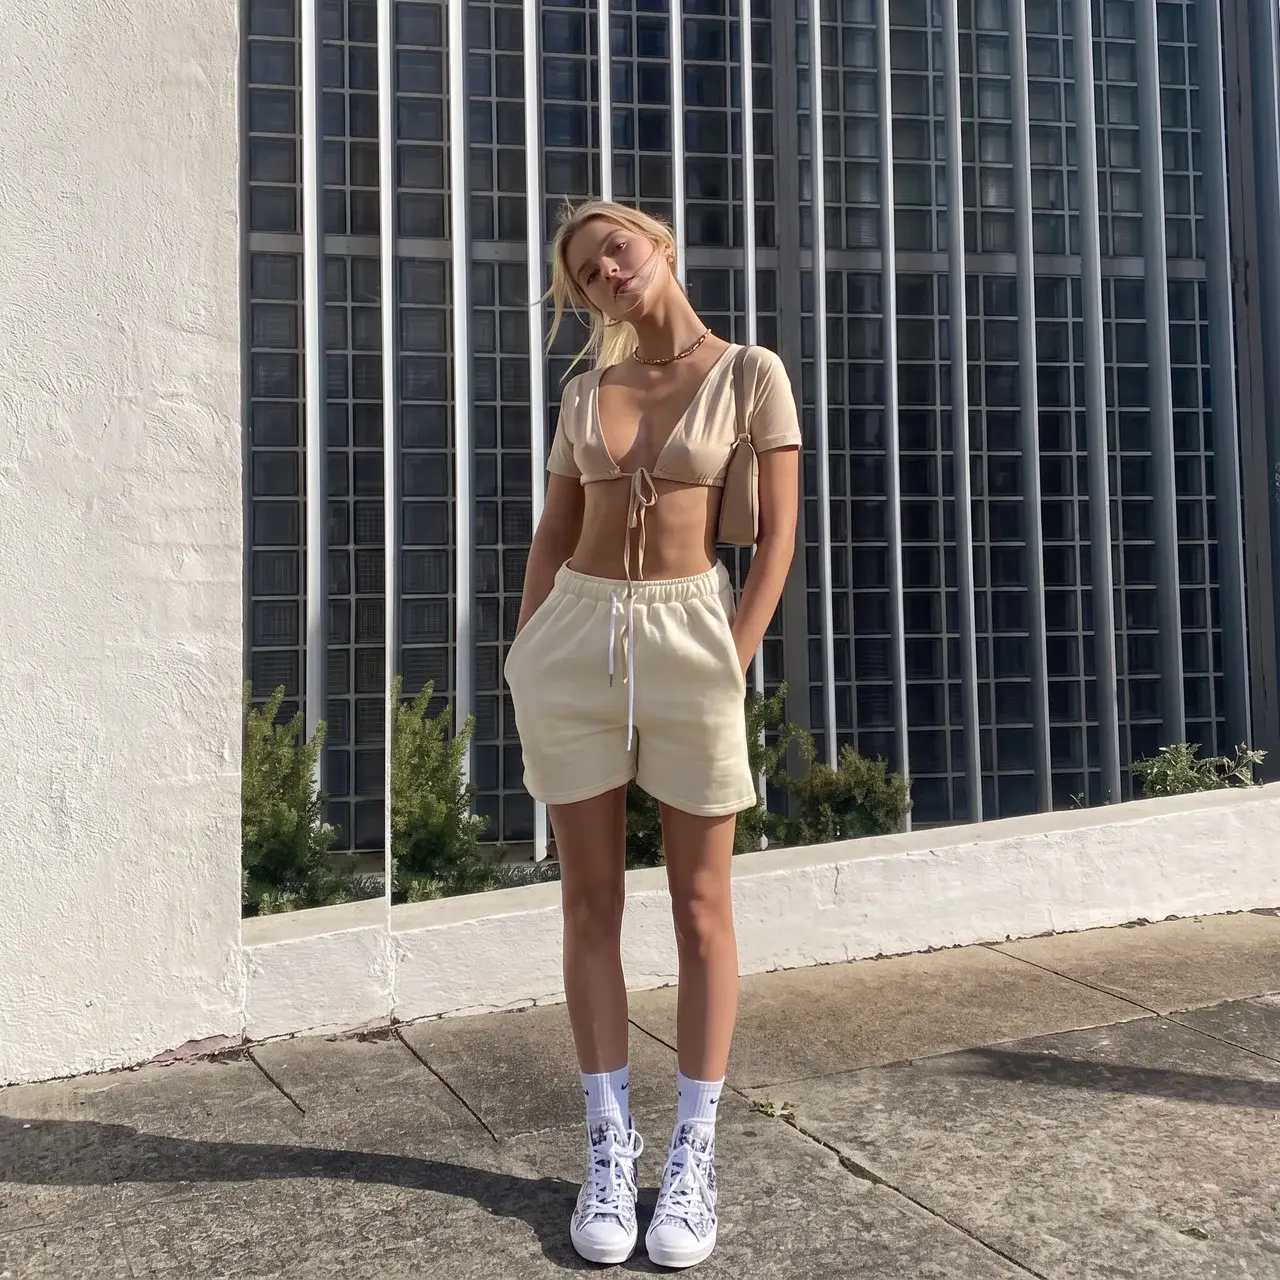
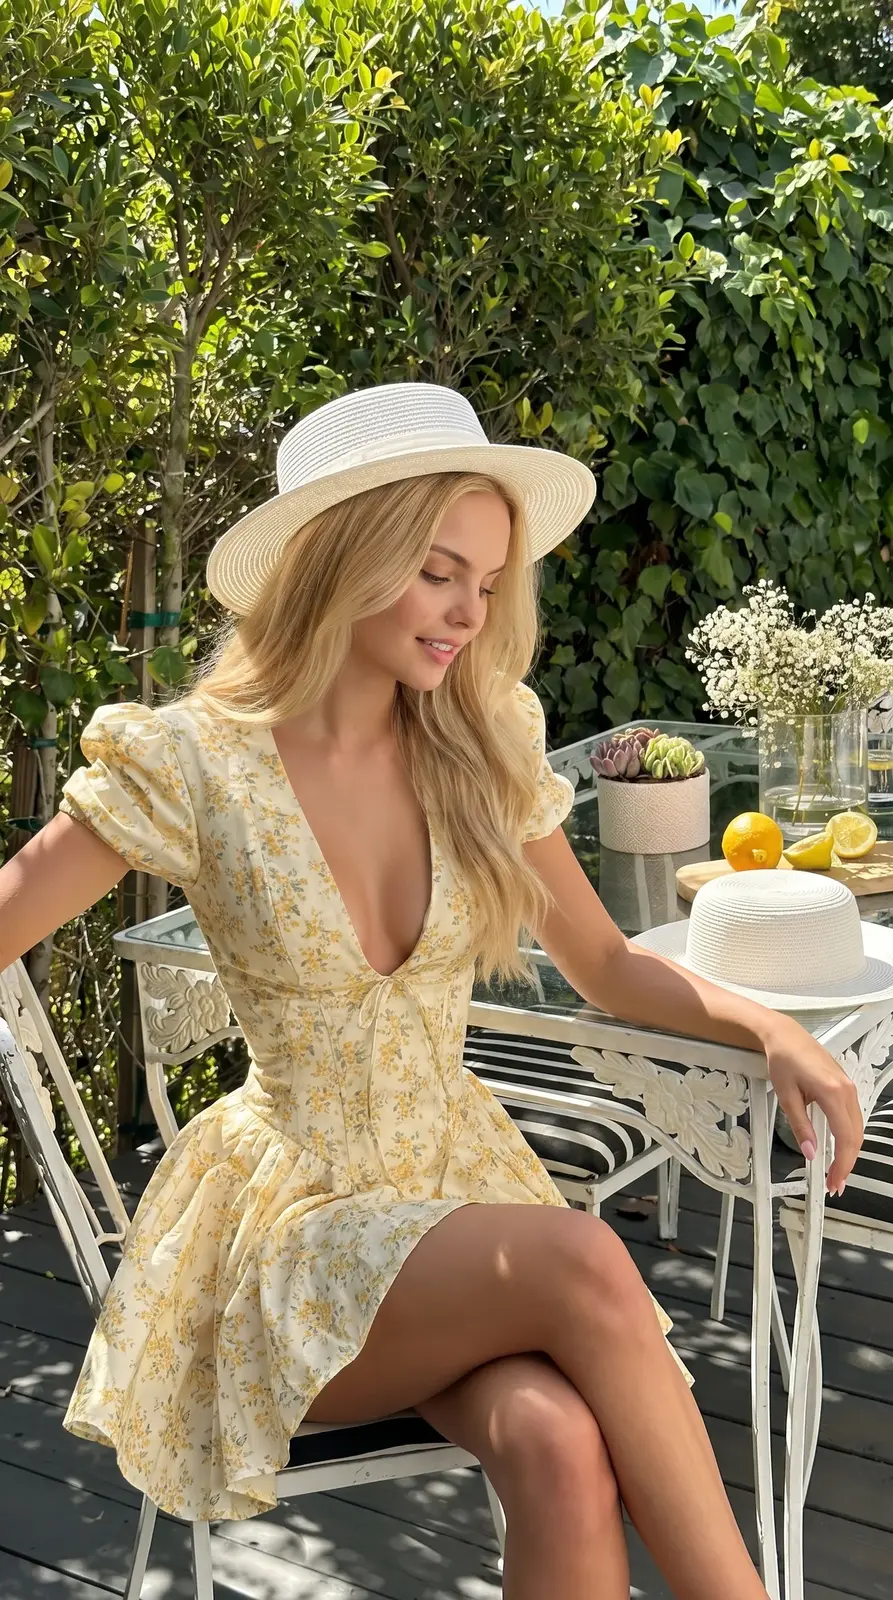
Now I have a sheet. Next you take any picture with a scene — lighting, background, composition — and replace the person in it.
I took this scene and wrote one line:
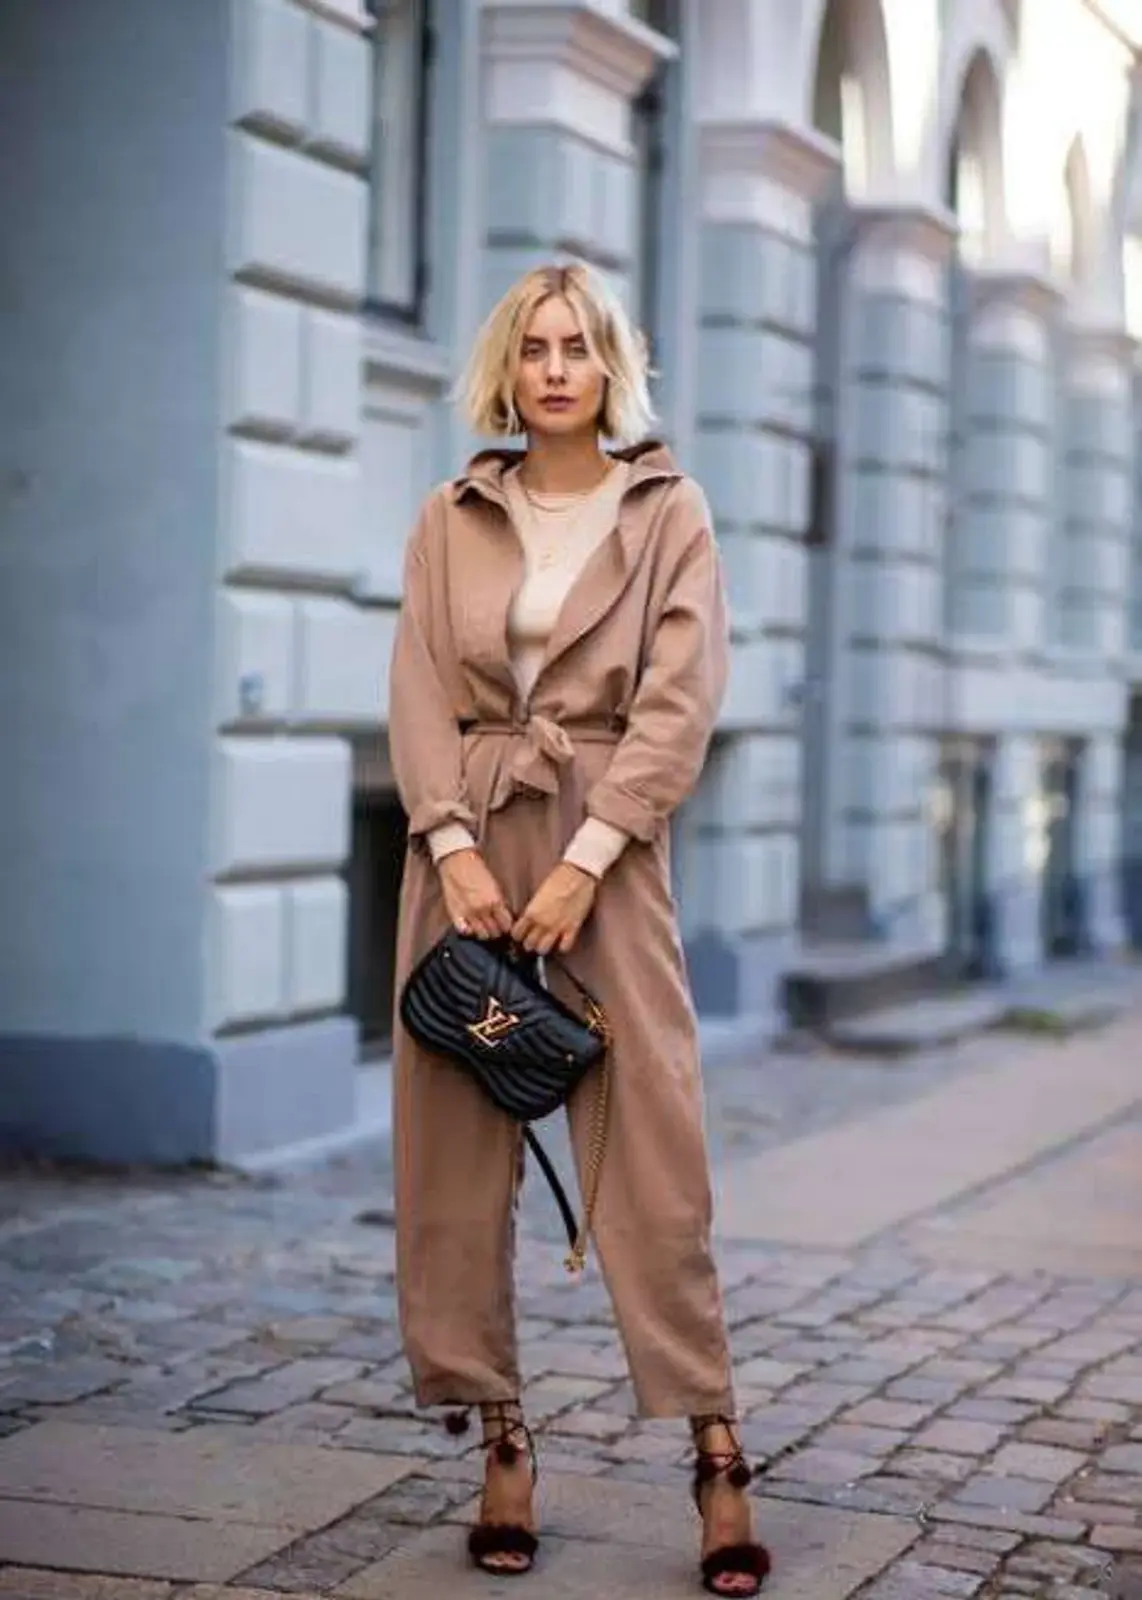
> "Use the character sheet from the first image and replace the face and body of the person in the second picture. Keep the exposure and background as in the second."
The result
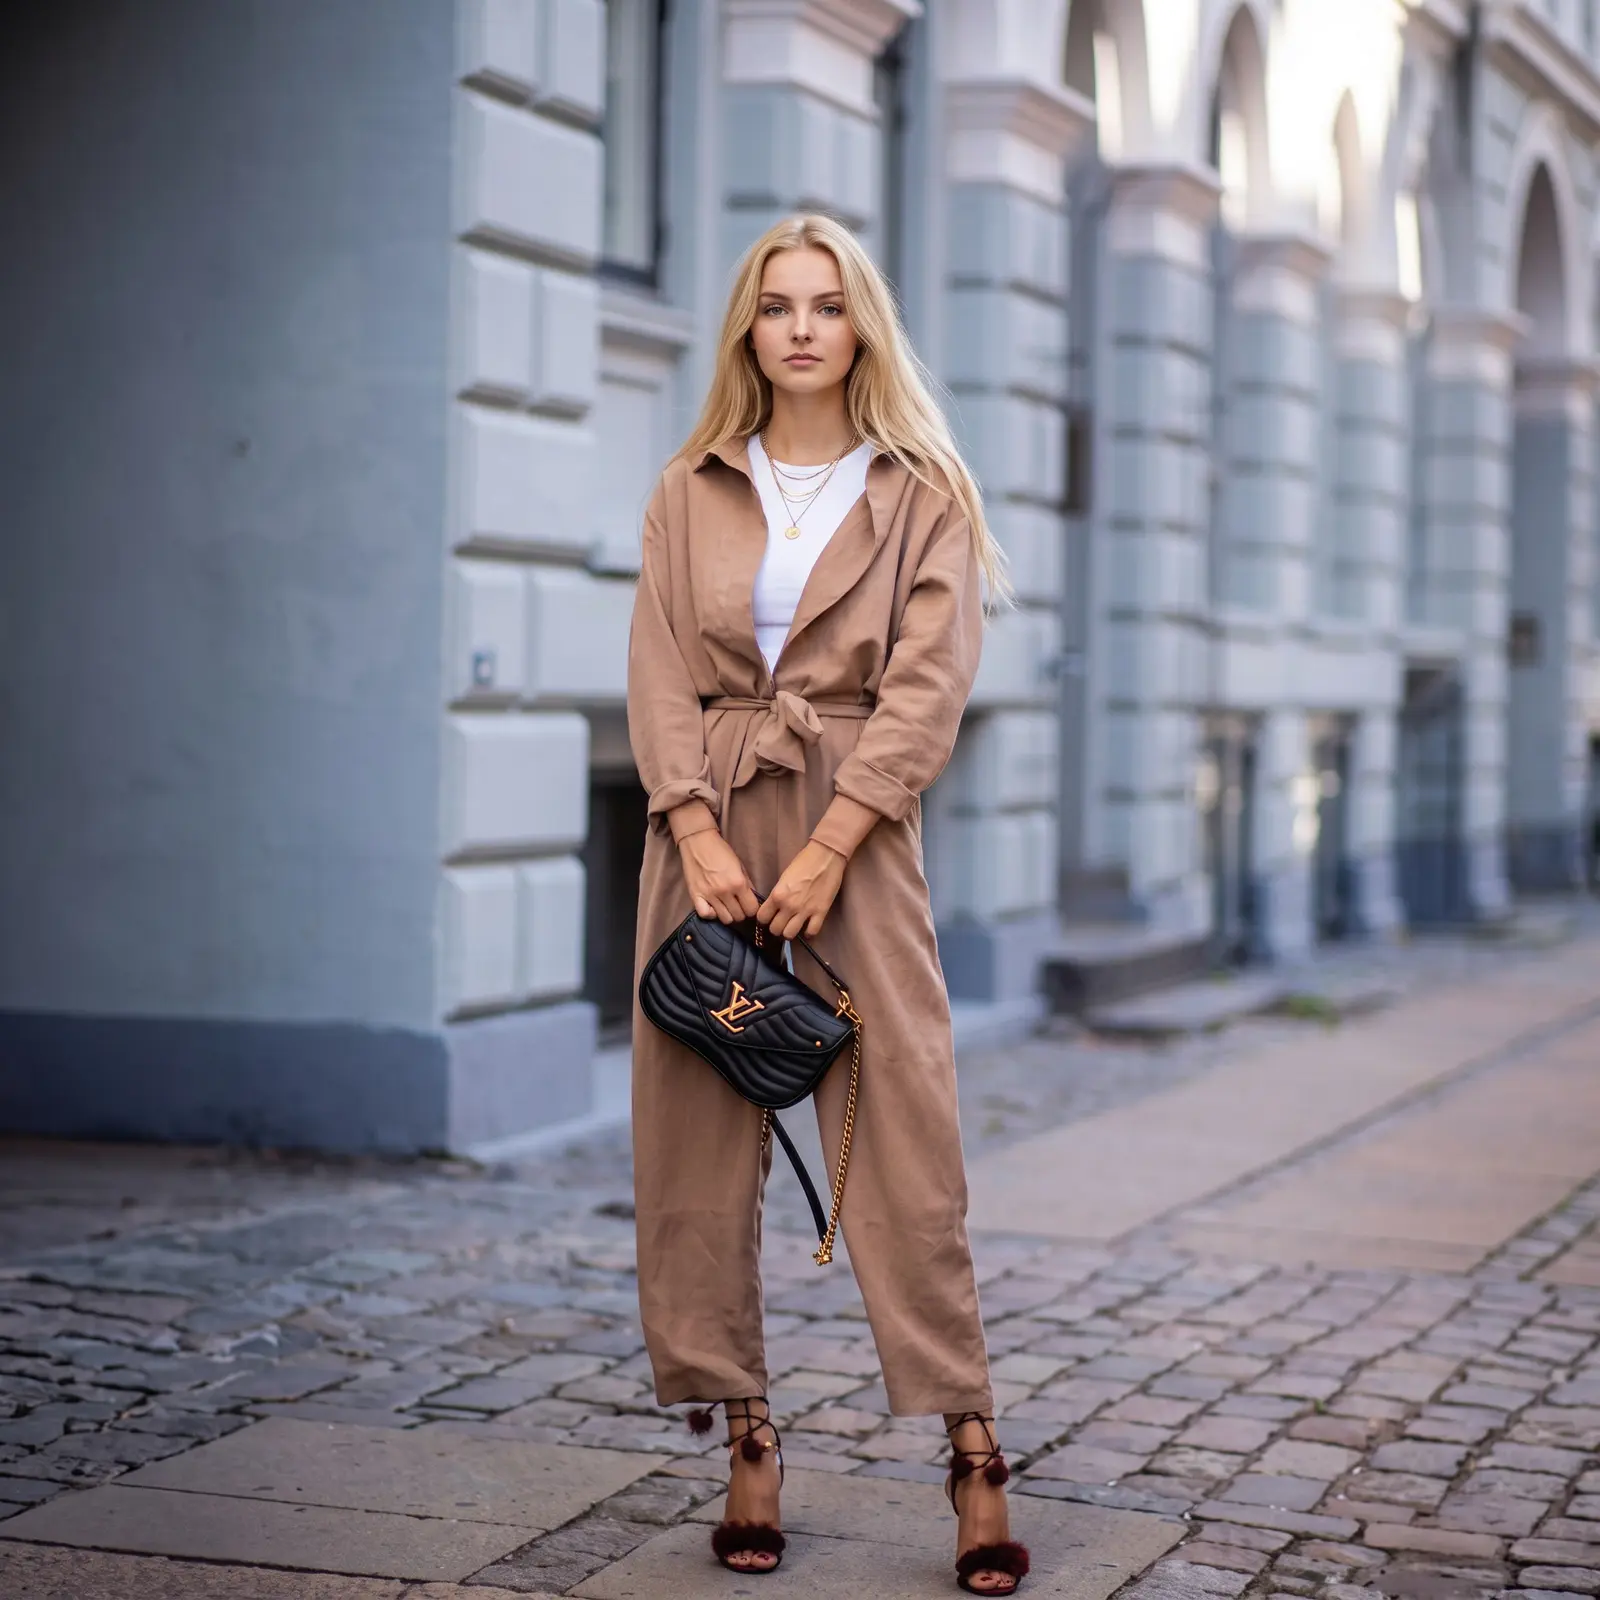
Note the phrasing. No technicalities — an ordinary request in my own words. The complex text was needed once, for the sheet. Everything after that is done in conversational language.
Two more frames from the same sheet: one · two
---
The main point in all this
Let me come back to what is easy to miss among the pictures.
I did not write a single prompt myself. Not the first, not the second. I dictated the task by voice in ordinary words, and the technical text was composed by a ready assistant.
And that is not the only such assistant. There are more than 150 — for every model and every task. Separate ones for generating images, for video, for texts, for analysing documents, for letters.
They are sorted into fourteen sections, and you choose not "which model to take" but "what I need to do".
Access to them is the basic subscription. That is, the entry threshold here is not the ability to write prompts: you do not need that at all.
---
What to do if the shots came out wrong
The face drifted — it is similar but not yours. Almost always too few sources. Add angles you did not have: profile, the back of the head, the face close up in three-quarters.
Different frames look like different people. That means you are generating each frame separately, with no sheet. Go back to step 3 — the sheet is what solves this.
Too smooth, like a magazine cover. Tell the assistant directly: "visible skin texture, no retouching and no make-up". Those words are in my prompt, and they are not there by accident.
The figure is wrong. Add a full-length shot from the side — proportions cannot be read from one full-face photo.
---
Where this leads next
A photo session is the first task in this set. Then begins what many people come here for.
#### A permanent character that does not change appearance
The sheet you assembled is already the foundation. The next step is a trained character: you upload 15–20 photographs of yourself with no retouching, from different angles, in daylight, and get a model that generates you specifically in any pose, clothing and location.
The difference from a sheet is substantial. A sheet holds the likeness within one session. A trained character holds it permanently, for months, across any number of frames.
That is an AI avatar: a face that will not drift on the tenth frame or the hundredth.
#### An AI blogger
Once the character is permanent, a blogger gets assembled from it — an account where the same person appears regularly and there are no shoots at all.
The "Photo and video" block covers this fully: creating a hyper-realistic character, full control of movement in frame in any location with any appearance, and a separate step-by-step mini course on creating, promoting and monetising a blogger like that.
#### What else is in the "Photo and video" block
It is the largest block of the programme, and it divides into two parts.
Part one — stills. A full treatment of Midjourney with all its hidden commands: blending images, reverse-engineering other people's pictures, stylisation strength, an unembellished mode, copying a style from a reference, targeted replacement of objects inside a frame, seamless extension of the borders and access to a library of 5 000+ styles.
Separately — GPT Images and Nano Banana: hyper-realism with pores and natural imperfections, with no plastic effect. And working with Flux, which is where your own models get trained.
Part two — movement. Control of the virtual camera and a motion brush with which you select an area — clouds, water, hair — and set its direction separately from the rest of the frame. Keyframes: you upload the first and the last, and the transition between them is calculated for you. Camera techniques such as an orbit around frozen time.
All the models discussed open in the Gen AI section — dozens of them in one window on one balance, with no separate subscription for each service.
#### Four mini courses inside the block
They are built into it and cover things precisely:
Midjourney from beginner to Pro — registration, configuration, a deep dive into the parameters, working with 5 000+ styles.
GPT Images and Nano Banana — seven chapters: the anatomy of a prompt, controlling the output, composition and camera thinking, reference guides to light and styles. And the key mechanic of holding a character across a series of frames.
Basic video generation — the foundation: how to turn a still frame into smooth movement with no geometric distortion.
AI Video — direction with full control of camera and the physics of movement.
#### And two more blocks in the same subscription
"Professional video editing" — a system for assembling short clips, from viewer psychology to technique: CapCut for speed, Premiere Pro and After Effects for the complex.
"The automator" — twelve lessons on how to stop doing repetitive things by hand.
#### Express courses that come separately
Besides the blocks, the subscription includes six mini courses, four of them directly on this subject:
"Midjourney from nothing to control" — three blocks: access, fundamentals, and an advanced level with your own references for character consistency.
"ChatGPT Images & Nano Banana" — from a first prompt to branded content with one character across a series. With the emphasis on commercial use rather than on pretty pictures.
"Google Veo 3" — creating studio-level video: 1080p, synchronised sound, cinematic control. The methodology works in other video models too.
"Video AI 2.0" — a full treatment of two Chinese models, Kling 3.0 and Seedance 2.0. An advanced level for those who have done the base: a comparison of capabilities, working with the first and last frame for seamless joins, multi-shot scenes with six angles in one request, replacing background, lighting and objects inside finished video, lip sync in different languages.
Plus two general ones — on Perplexity and on Grok.
Everything listed is the Plus subscription.
#### If you want it fully automatic
Separately from Plus there is the n8n plan — over 3 000 ready automation templates, among them an AI blogger workflow: it draws up a week's content plan itself, generates photographs and eight-second clips with a consistent face and posts them.
The template opens ready configured — you enter your credentials and launch it.
And the training section has a treatment of how a permanent character becomes a blogger running content for small and medium businesses automatically.
But there is no need to start there. First, one series of your own in an evening.
---
Where to start today
One action, an evening.
Find three or four shots of yourself from different angles. Not perfect ones — ordinary ones.
Go to the prompt assistant and dictate by voice what you want: a character sheet with every angle. In your own words, as you would explain it to a person.
Send the text you get to the generation section.
Did it work? Take a second task. Place your sheet into another scene — that is one line of ordinary language and two minutes.
Registration is free and opens three days of full access to all the assistants, including the one that wrote my prompts.
And if after the first series you want to go further — a permanent character that does not change appearance, an AI blogger, video from stills — that is the Plus subscription: the whole "Photo and video" block, the video editing block, the automation block and six mini courses, four of them directly on visuals.
---
What to read next
[Where to start: one evening, one task](/en/blog/first-evening-one-task) — if this is your first approach to the subject.
[A digital avatar: content with no filming](/en/blog/digital-avatar-without-filming) — what to do with a sheet next: scenes, angles, talking video.
[Restoring an old photograph](/en/blog/restore-old-photo) — the second task in this group.
[Where does what I write to an AI go](/en/blog/is-it-safe-to-use-ai) — if uploading your own photographs is off-putting.
[Why an AI character looks plastic](/en/blog/why-ai-character-looks-plastic) — five causes of that synthetic look and how each is fixed.
---